We hope you love the products we recommend and just so you know that as an Amazon Associate CoyoteHunting.org may earn from qualifying purchases.
Learn how to make the most of your ultrasonic gun cleaner for efficient and safe firearm maintenance
Ultrasonic gun cleaners have become a popular tool for firearm enthusiasts looking to maintain their collection in pristine condition.
These powerful devices use sound waves to clean firearms thoroughly and efficiently. However, proper use is crucial to ensure safety and effectiveness.
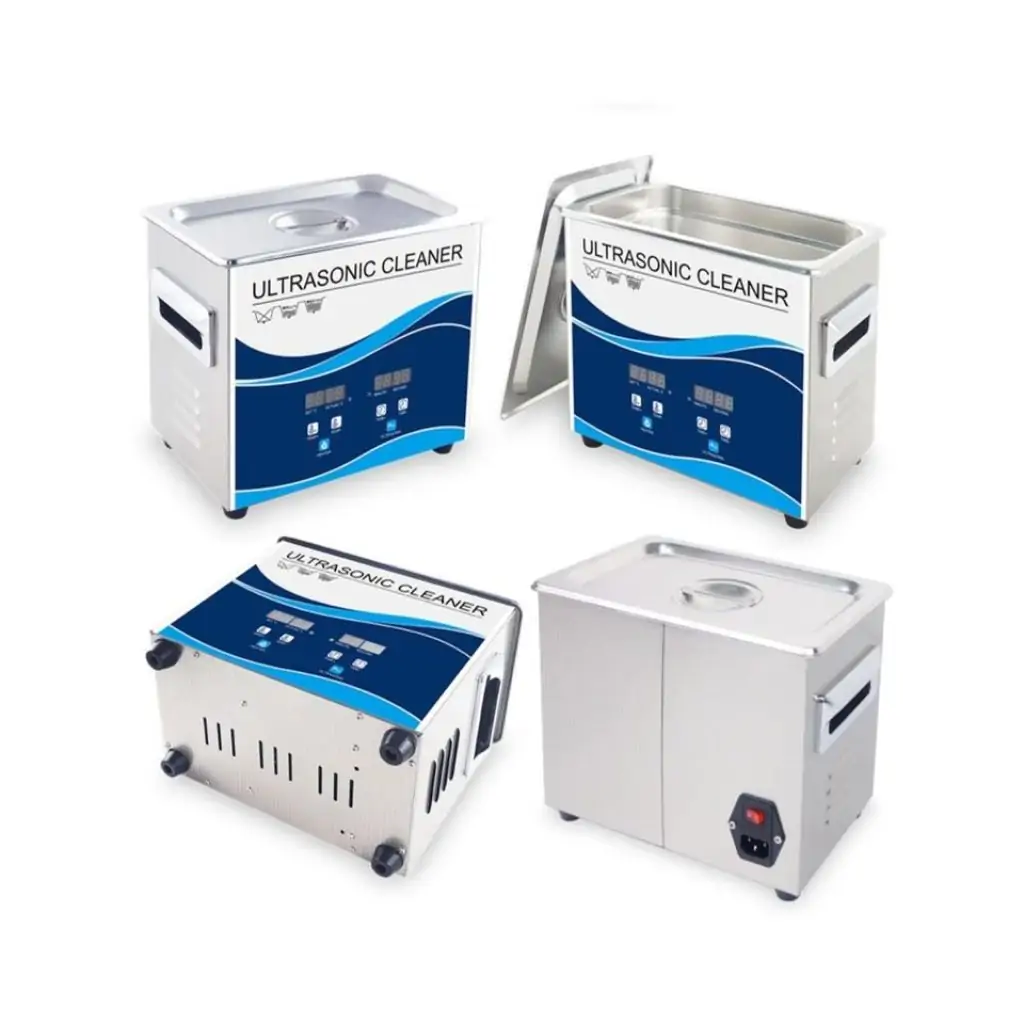
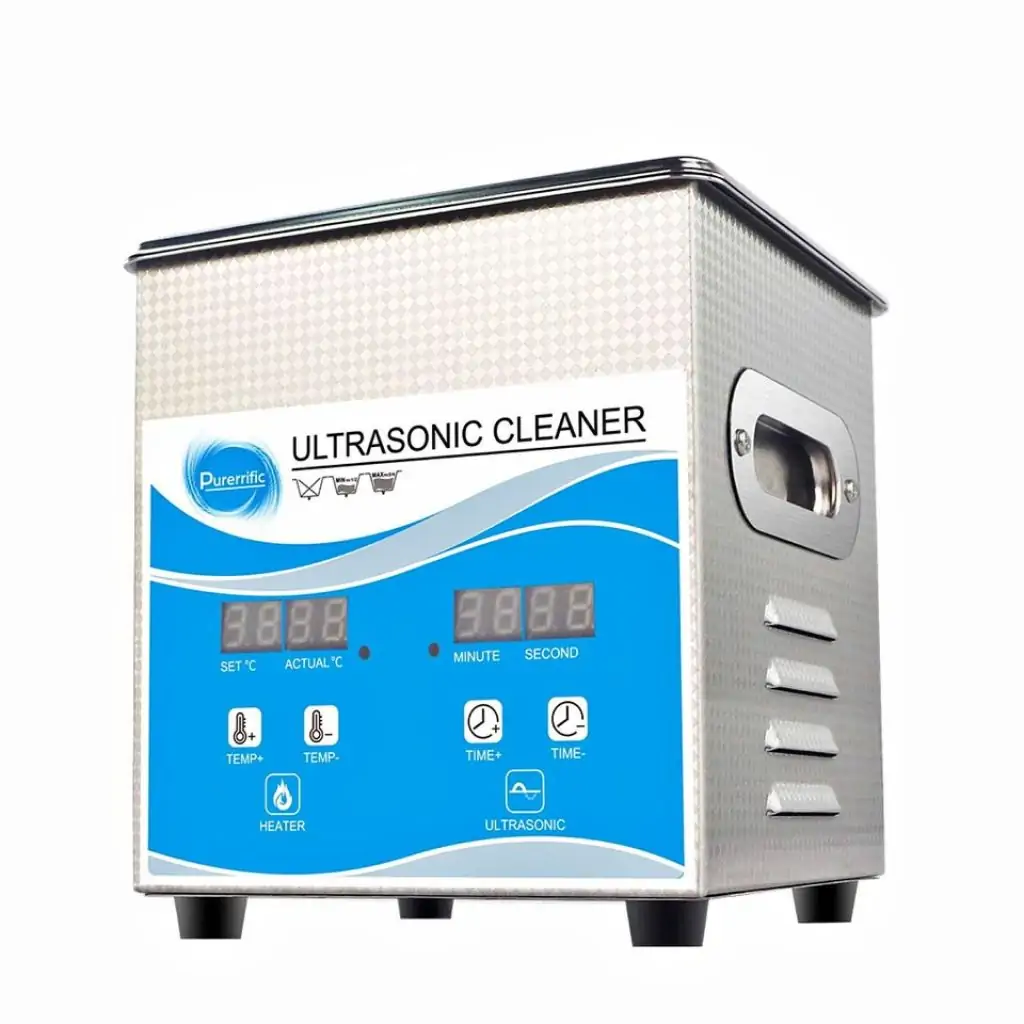
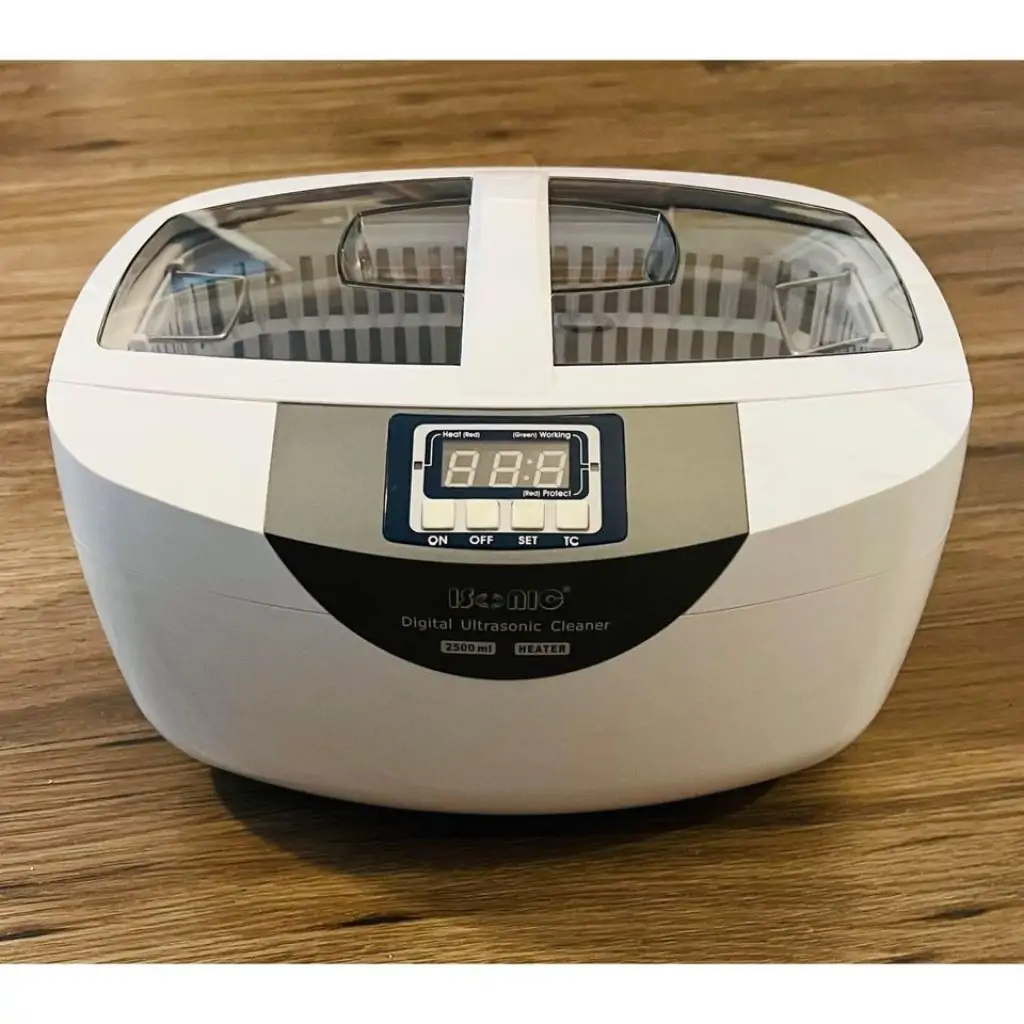
If you’re trying to decide which ultrasonic cleaner to purchase – check out our top 3 best ultrasonic gun cleaner roundup.
In this step-by-step guide, we’ll show you how to use your ultrasonic gun cleaner safely and effectively.
Table of Contents

Step 1: Choose the Right Ultrasonic Gun Cleaner
The first step in using an ultrasonic gun cleaner is to choose the right one for your needs. There are various models available, ranging in price from $200 to several thousand dollars.
Consider factors such as the size of your firearm collection, the frequency of use, and your budget when selecting the best ultrasonic gun cleaner for you.
Step 2: Prepare Your Firearms for Cleaning
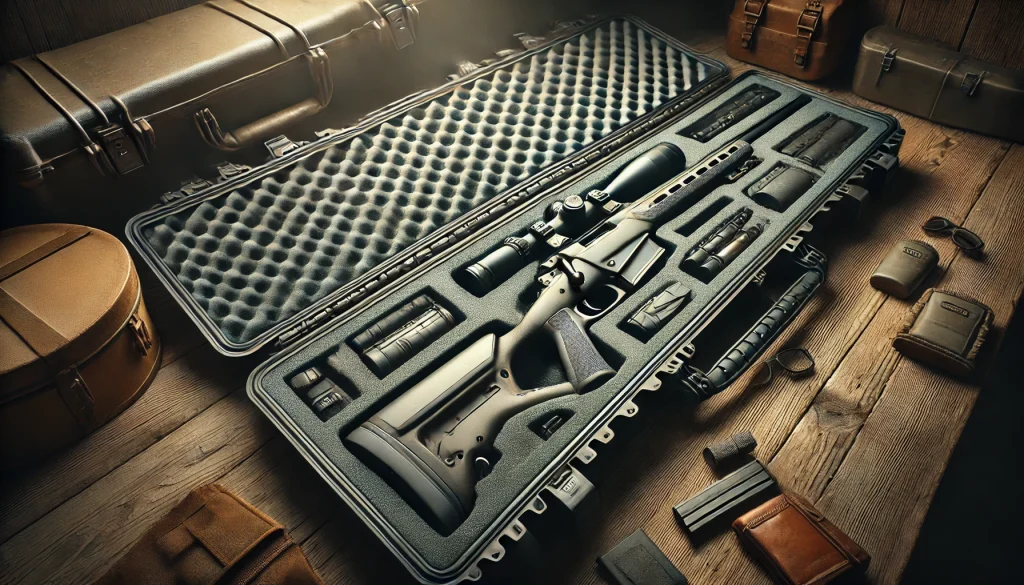
Before using your ultrasonic gun cleaner, it’s essential to disassemble your firearms and remove any loose debris. This ensures that the ultrasonic cleaning process can effectively reach all parts of your gun.
This step is crucial before using an ultrasonic gun cleaner, as it ensures a more thorough cleaning and prevents potential damage to the firearm during the cleaning process.
Here’s a more detailed explanation of how to disassemble your firearm and remove any loose debris:
- Refer to your firearm’s owner’s manual: Before attempting to disassemble your firearm, consult the owner’s manual for specific instructions and guidelines. Each firearm model may have different disassembly procedures, so it’s essential to follow the correct steps for your particular gun.
- Unload your firearm: Make sure your firearm is completely unloaded before disassembling it. Remove any ammunition from the chamber and magazine, and double-check to ensure that the firearm is safe to handle.
- Begin disassembling your firearm: Following the instructions in your owner’s manual, start to disassemble your firearm. Typically, this will involve removing the major components, such as the slide or bolt, barrel, and trigger group. Some firearms may require further disassembly of smaller components, depending on the level of cleaning needed.
- Inspect and remove loose debris: As you disassemble your firearm, inspect each part for any loose debris, such as dirt, grime, or spent powder residue. Use a soft brush or cloth to remove this debris before placing the components in the ultrasonic gun cleaner. In some cases, you may need to use a small pick or cleaning tool to remove stubborn debris from hard-to-reach areas.
By properly disassembling your firearm and removing any loose debris, you can ensure that the ultrasonic gun cleaner can effectively clean each component, resulting in better overall maintenance of your firearm.
Step 3: Select the Appropriate Cleaning Solution
The cleaning solution you choose for your ultrasonic gun cleaner is crucial for achieving optimal results.
Some popular options include a mixture of water and Simple Green, or a specialized ultrasonic cleaning solution designed for firearms.
It’s essential to consult your ultrasonic gun cleaner’s manual to determine the best cleaning solution for your specific model.
Step 4: Fill the Ultrasonic Gun Cleaner
Once you’ve chosen the appropriate cleaning solution, fill your ultrasonic gun cleaner according to the manufacturer’s instructions. Be sure to maintain the recommended water level and temperature for optimal cleaning results.
Step 5: Place Your Firearms in the Ultrasonic Gun Cleaner
Carefully place your disassembled firearms in the ultrasonic gun cleaner, ensuring that all parts are fully submerged in the cleaning solution. Depending on the size of your ultrasonic gun cleaner, you may be able to clean multiple firearms at once.
Step 6: Set the Cleaning Duration
Consult your ultrasonic gun cleaner’s manual to determine the recommended cleaning duration. Generally, most ultrasonic gun cleaners will clean firearms effectively within 10-20 minutes, but this may vary depending on the model and cleaning solution used.
Step 7: Activate the Ultrasonic Gun Cleaner
With your firearms properly placed and the cleaning duration set, activate your ultrasonic gun cleaner. The device will use sound waves to create microscopic bubbles that penetrate even the smallest crevices of your firearm, providing a deep and thorough cleaning.
Step 8: Remove and Dry Your Firearms
Once the cleaning cycle is complete, carefully remove your firearms from the ultrasonic gun cleaner. Use a clean, soft cloth to dry each part thoroughly, ensuring that all moisture is removed to prevent corrosion.
Step 9: Reassemble and Lubricate Your Firearms
After drying, reassemble your firearms and apply the necessary lubrication to moving parts. This will ensure smooth operation and prevent potential damage due to friction.
Final Thoughts
Using an ultrasonic gun cleaner can save you time and effort while maintaining your firearms in top condition. By following this step-by-step guide, you can safely and effectively use your ultrasonic gun cleaner to keep your collection in peak performance.
Remember to consult your ultrasonic gun cleaner’s manual for specific instructions and recommendations for optimal results.


